
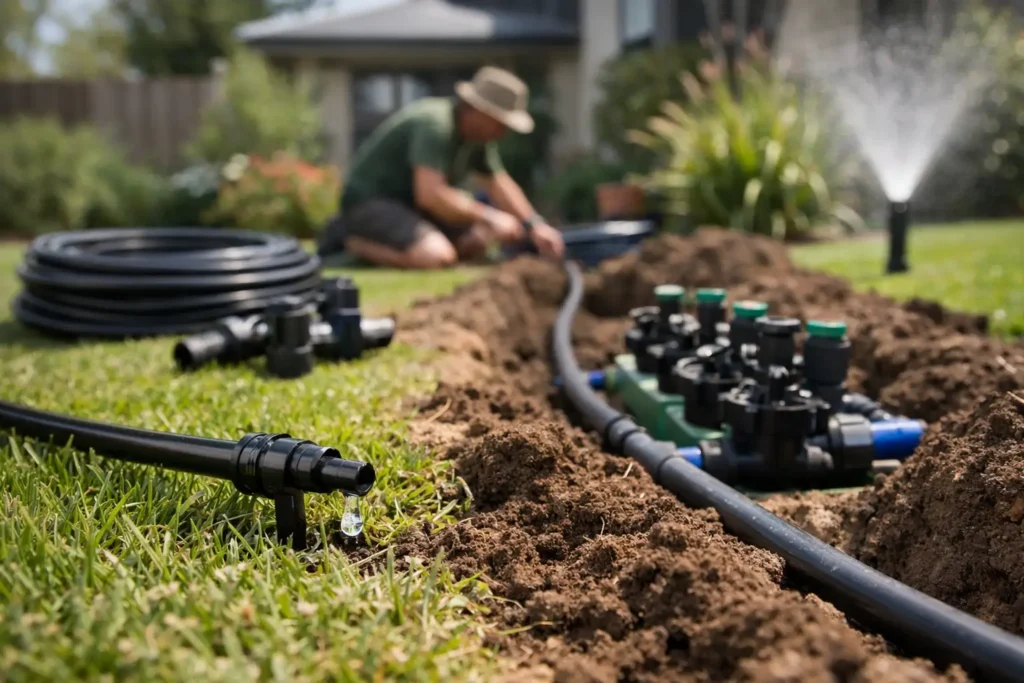
A 35°C Melbourne afternoon can turn a healthy planting scheme into stressed, thirsty garden beds faster than most property owners expect. A well-planned irrigation system removes the guesswork, delivering water where roots need it rather than wasting it on paths, fences or exposed soil. This guide to installing garden irrigation explains how to plan a reliable system that supports your landscape through dry periods while keeping water use under control.
Start With a Garden Irrigation Plan
The best irrigation systems are designed around the garden, not added as an afterthought. Walk through the space at different times of day and note where sun, shade, wind and runoff occur. A north-facing lawn, a sheltered courtyard planter and a newly planted native bed will not have the same watering needs.
Divide the landscape into watering zones. Each zone should group plants with similar requirements, such as lawn, productive gardens, established shrubs and new plants. This allows the controller to run each area for the right duration. If lawn sprinklers and dripline watering are placed on the same zone, one part of the garden will usually be overwatered or underwatered.
Also map fixed features before choosing pipe routes. Include retaining walls, decking, garden edging, concrete, outdoor lighting and future planting areas. Planning now avoids the frustration of lifting new paving or cutting through a finished garden later. On commercial sites, account for vehicle access, pedestrian areas and the need to keep irrigation components protected from damage.
Check your water source and pressure
Your available water pressure and flow rate determine how much can run at once. A system with too many sprinklers on a single line may produce weak, uneven coverage. Dripline can also perform poorly if the run is excessively long or the pressure is not regulated.
A simple flow test provides a useful starting point: time how long it takes to fill a known-volume bucket from the proposed tap. Pressure should also be tested, particularly on larger properties or where several water outlets may operate at once. These figures help determine zone sizes, pipe diameter and whether pressure regulation is required.
If the system connects to potable water, use appropriate backflow prevention and ensure the work meets Victorian plumbing requirements. A licensed professional can advise on the correct connection, valves and compliance obligations. This is especially worthwhile for commercial properties, where a poorly designed connection can create avoidable maintenance and safety issues.
Before digging, identify underground services. Do not assume a garden bed is clear simply because it has been planted for years. Electrical cables, gas lines, communications services and older pipework can all be present.
Choose the Right Irrigation Method
Most gardens benefit from a combination of irrigation methods rather than one system everywhere. The right choice depends on plant type, soil, slope, exposure and how the outdoor space is used.
Dripline is generally the most water-efficient choice for garden beds, hedges, vegetable patches and trees. It applies water slowly at the soil surface, reducing evaporation and keeping foliage drier. That can help limit fungal issues on susceptible plants. Dripline is easy to hide under mulch, although it needs flushing and occasional checks to make sure emitters have not blocked or been damaged during gardening.
Pop-up sprinklers are suited to lawn areas where even coverage matters. Their heads sit below ground when not in use, making them a neat option around active family spaces and commercial turf. Sprinklers should be positioned so their spray reaches neighbouring heads, commonly called head-to-head coverage. Poor spacing leaves dry patches, while poorly aimed sprays waste water on driveways and footpaths.
Micro-sprays can work well in densely planted beds or around some groundcovers, but they are more exposed to wind and evaporation than dripline. They are often best used in sheltered locations or where surface coverage is genuinely needed. For pots and vertical gardens, dedicated micro-irrigation with adjustable drippers gives more control than trying to water them from a nearby lawn zone.
A practical system commonly includes these core parts:
- a controller or tap timer to schedule watering
- isolation valves so zones can be serviced independently
- filters and pressure regulators where required
- poly pipe, fittings and zone valves
- dripline, sprinklers or micro-irrigation suited to each area
Select quality components that can be serviced locally. Saving a small amount on fittings can cost far more when a buried joint fails beneath mulch, turf or paving.
Guide to Installing Garden Irrigation Step by Step
Once the design is set, mark the layout on the ground with spray paint, pegs or string. Confirm the position of every sprinkler, valve box and pipe run before excavation begins. Check that heads will clear plant foliage and that future growth will not block coverage.
Dig narrow trenches deep enough to protect pipework from gardening tools and everyday activity. The required depth depends on the site and local conditions, but pipe should not sit just below the mulch where it can be pierced by a spade. Keep trenches tidy and separate excavated soil from lawn or paving areas to make reinstatement easier.
Lay the main poly pipe from the water source to each zone, then install lateral lines to sprinklers or dripline. Use fittings that suit the pipe size and secure connections carefully. Avoid sharp bends and excessive joins. Where pipe passes near hardscape edges, allow enough room to access components later without disturbing finished surfaces.
Install sprinkler bodies at the finished soil level, not the current level if mulch or turf is still to be added. For dripline, secure runs with stakes and space them according to the manufacturer’s recommendations and the planting layout. In garden beds, place lines close enough to wet the root zone evenly, then cover with mulch once testing is complete.
Connect the controller and zone valves, preferably in an accessible location. Modern controllers can adjust programs for seasonal conditions, but they still need sensible settings. A rain sensor or weather-responsive controller can prevent irrigation from running during or immediately after rainfall, which is particularly useful during Melbourne’s changeable seasons.
Test before covering the pipework
Run one zone at a time before backfilling. Look for leaks at every fitting, weak sprinkler performance, blocked drippers and overspray. Adjust sprinkler arcs so water stays inside the intended landscape area. With dripline, lift a small section after a run cycle to confirm moisture is reaching the soil at root depth.
This testing stage is where careful installation pays off. It is much easier to correct a valve, fitting or head height before soil, mulch, turf or decorative stone is reinstated. Photograph the pipe layout and valve locations for future maintenance. That record can prevent accidental damage when adding plants, lighting or new garden edging years later.
Set Watering Times for Melbourne Conditions
An irrigation system is only efficient when its schedule reflects actual conditions. In warmer weather, run sprinklers and dripline early in the morning to reduce evaporation and allow plant foliage to dry. Avoid relying on fixed schedules all year. Melbourne gardens can move from hot, dry conditions to cool, wet weeks quickly.
Water deeply enough to encourage roots to grow down rather than keeping them near the surface. How long this takes depends on soil type. Sandy soils accept water quickly but dry out faster, so they may need shorter, more frequent cycles. Clay soils absorb water slowly and can shed water on slopes, making cycle-and-soak watering more effective. This means running a shorter cycle, allowing time for water to infiltrate, then running another cycle.
New turf, fresh planting and recently transplanted trees need closer attention until established. Established drought-tolerant plants may need far less supplementary water than a thirsty lawn. Check soil moisture by hand rather than watering purely because the timer says to. If the soil is still damp several centimetres below the surface, delay the next cycle.
Maintain the System as the Garden Changes
Irrigation is not a fit-and-forget addition. Inspect it at the start of each warm season and again after major landscaping work. Clean filters, flush dripline, replace damaged emitters and clear soil or mulch away from sprinkler heads. Check for roots lifting pipework and for plants that have grown into the spray path.
Review the controller after rain, seasonal temperature changes or alterations to the garden. A lawn removed for decking, artificial grass or a new garden bed should no longer receive the same watering allocation. Small adjustments keep the system efficient and help protect your investment in plants, turf and hardscaping.
For homeowners and site managers who want irrigation designed alongside planting, turf, retaining walls or outdoor living areas, Australian Landscape Hub can coordinate the full landscape from planning through to installation. A system that is properly matched to the finished space will work quietly in the background, giving your garden the consistent care it needs without making water management another weekend job.